
I decided that I would share my recipe with homemade granola bars with y'all! I love granola bars (like I eat at least 1 Luna bar a day) and I was obsessed with these granola bars freshmen year. One of my best friends loves these and when I texted her a picture while I was making them for this post, she said that everyone needs to know that they are her favorite food (your welcome S!). They are pretty simple to make and so yummy! I also love how you can control the ingredients versus store bought granola bars you usually have no clue what is in them!

Ingredients:
Butter, Brown Sugar, Honey, Vanilla Extract, Quick-Cooking/Instant Oats, Rice Cereal, Sliced Almonds, Flaxseed Meal or Wheat Germ, Dark Chocolate Chips, Chocolate Chips, or Butterscotch Chips (or a combination of all)
1. Line a 9 by 13 pan with aluminum foil and spray the foil lightly with cooking spray
2. In a large pot, add the butter, brown sugar, and honey

3. Place the pot on the stove and boil on medium-high heat, stirring constantly

4. Once it is all combined, remove from heat and add vanilla

5. In the pot, add the oats, rice cereal, almonds, and flaxseed meal and mix


6. Transfer the mixture to the pan and pat lightly with a spatula to even out

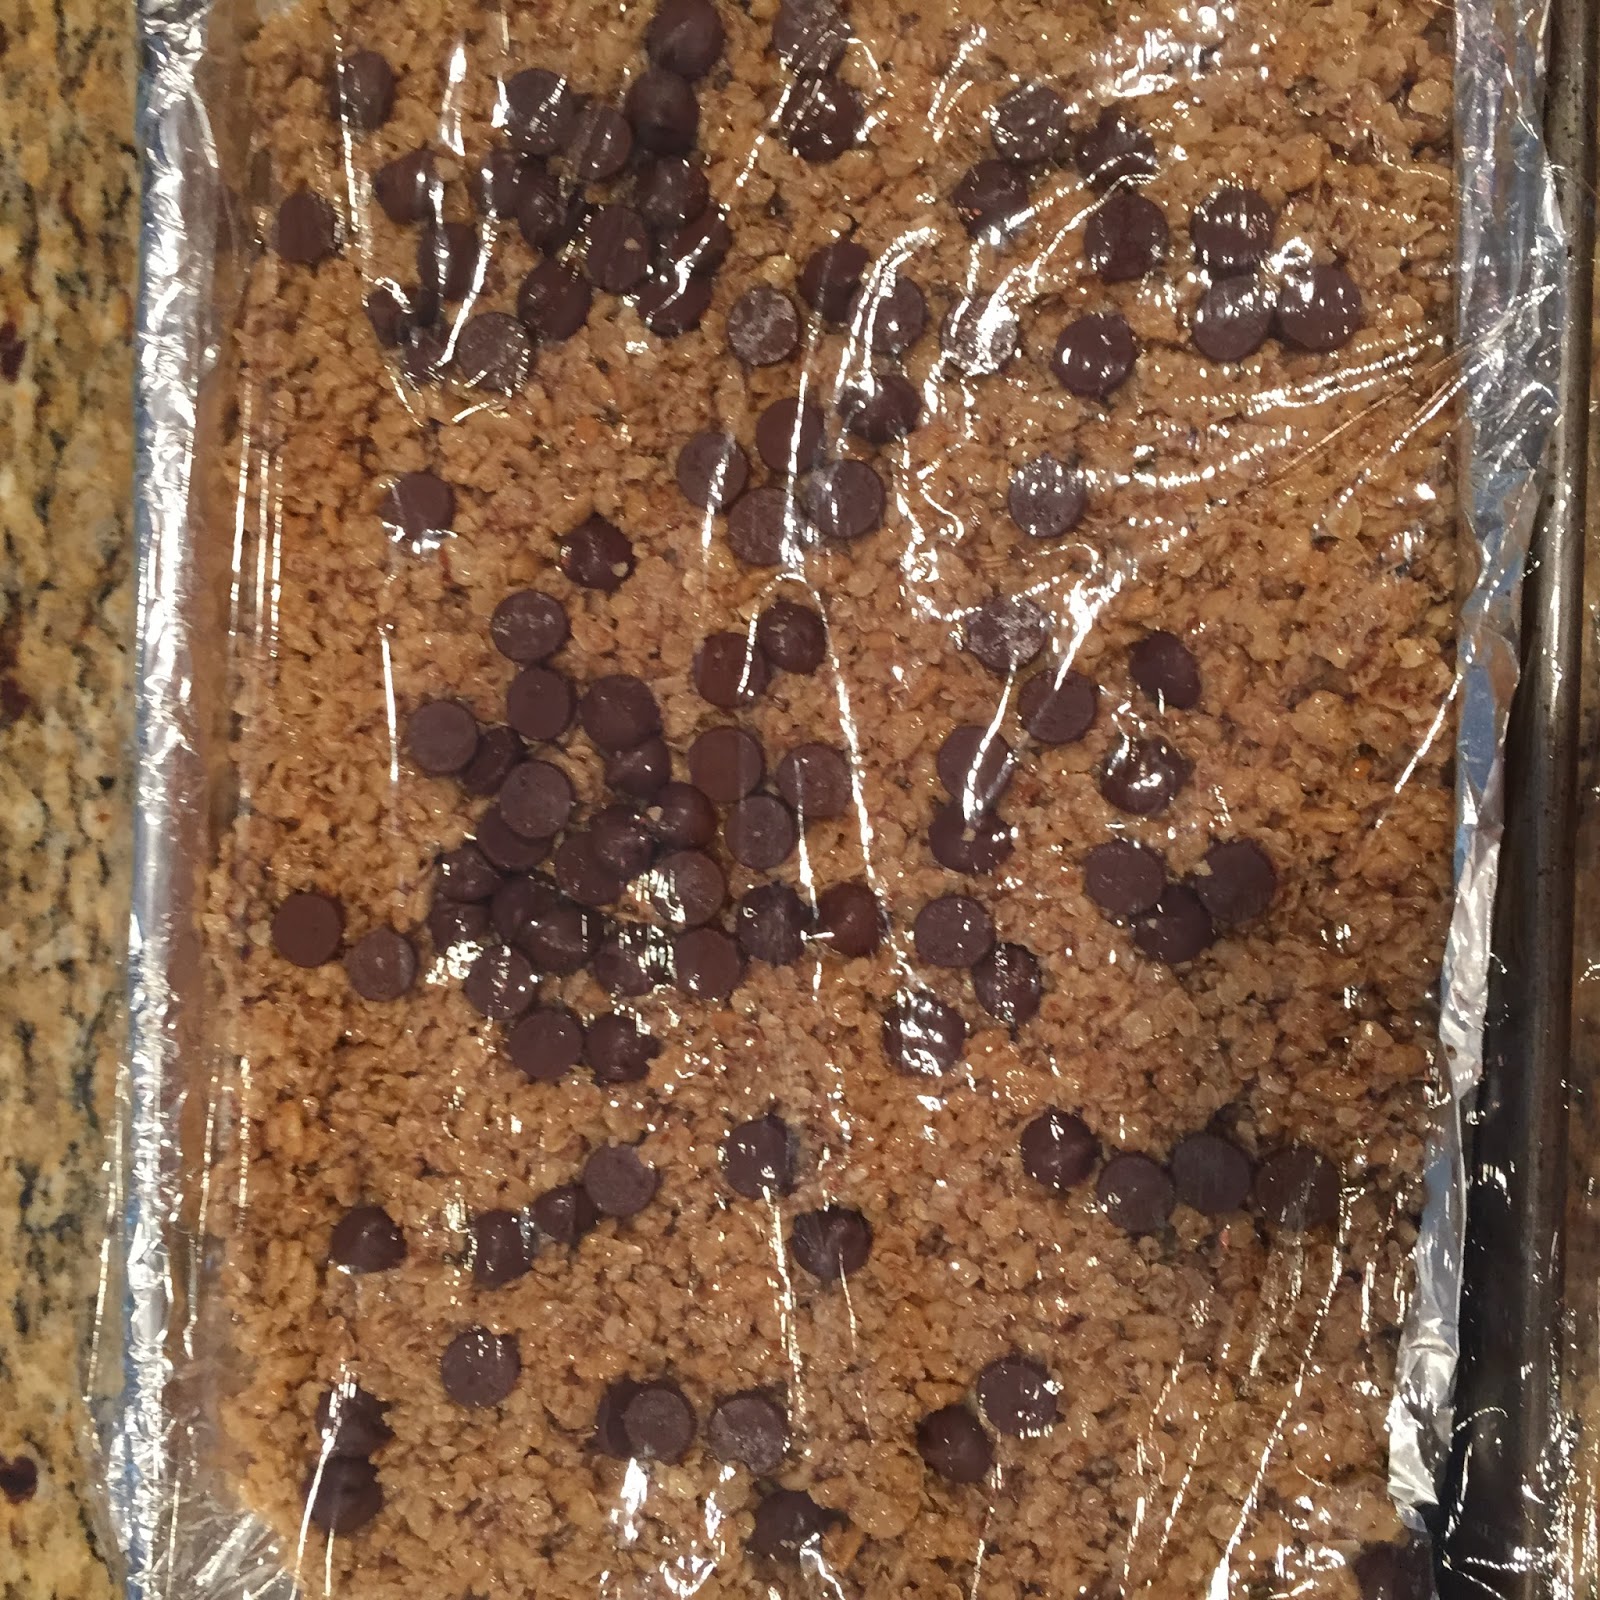
7. Sprinkle the chocolate/dark chocolate/butterscotch chips on top and press down with the spatula

8. Cover the pan with plastic wrap
9. Place the pan in the fridge for 1.5 to 2 hours

10. Once cool, cut out the granola bars and wrap the granola bars in plastic wrap individually
11. Store in the fridge until ready to eat!
Ingredients
- 6 tablespoons butter
- 1/3 cup brown sugar
- 1/4 cup plus 2 tablespoons honey
- 1.5 teaspoons vanilla extract
- 2 cups quick-cooking/instant oats (such as Quaker Quick 1-Minute Oats- don't use regular old-fashion oats)
- 1 3/4 cups crispy rice cereal
- 1/2 cup sliced almonds
- 1/4 cup flaxseed meal or wheat germ
- 1/3 cup dark chocolate chips, chocolate chips, or butterscotch chips (or a combination of all)
Instructions
1. Line a 9 by 13 pan with aluminum foil and spray the foil lightly with cooking spray
2. In a large pot, add the butter, brown sugar, and honey
3. Place the pot on the stove and boil on medium-high heat, stirring constantly
4. Once it is all combined, remove from heat and add vanilla
5. In the pot, add the oats, rice cereal, almonds, and flaxseed meal and mix
6. Transfer the mixture to the pan and pat lightly with a spatula to even out
7. Sprinkle the chocolate/dark chocolate/butterscotch chips on top and press down with the spatula
8. Cover the pan with plastic wrap
9. Place the pan in the fridge for 1.5 to 2 hours
10. Once cool, cut out the granola bars and wrap the granola bars in plastic wrap individually
11. Store in the fridge until ready to eat!
Note- The great thing about these granola bars is that you can easily not include any of the dry ingredients (oats, rice cereal, sliced almonds, or flaxseed meal). I made these without almonds in the pictures since I didn't have any and they still turned out perfectly! I have also not included the rice cereal and I know my friend has made them without the flaxseed meal! I would probably use the oats though!